Have you ever flipped through a travel photo book and noticed how some just pull you right in while others fall flat? The secret lies in storytelling.
Designing a travel photo book that truly tells your story is about more than just arranging photos; it’s about capturing the essence of your journey and the emotions experienced along the way.
Consider the colors, the layout, and the sequence to evoke feelings and memories. How can you transform your travel photos into a captivating narrative that transports others alongside you? Exploring this process can turn an ordinary collection of pictures into a vivid narrative.
Craft Your Narrative
Crafting a compelling narrative for your travel photobook involves choosing a meaningful theme and organizing your story effectively. The journey isn’t just about arranging images; it’s about weaving a tapestry of memories that tells a unique tale of your experiences.
Find Your Theme
Choosing the right theme sets the stage for your personalized photo book. Ask yourself, what message or feeling do you want your travel photos and stories to convey? Is it adventure, tranquility, or perhaps a journey of self-discovery?
Think of your theme as the backbone that supports your entire narrative. It could be as simple as “Sunsets Across Europe” or as deep as “A Cultural Immersion in Southeast Asia.” Your theme ties your images together, creating a cohesive experience.
Reflect on the highlights of your trip and the emotions tied to them. Often, these sentiments guide your theme selection.
Brainstorm a few ideas, jot them down, and see which one resonates most with your travel experiences. When each photo aligns with the central theme, your story unfolds naturally, capturing the essence of your journey.
Structure Your Story
Now that you’ve got your theme, it’s time to build the structure of your memory book. Think of your story as a play, with each destination or moment acting as a new scene. How do you want to introduce your journey? What comes in the middle? How does it all conclude? A logical flow helps your readers journey through your experiences smoothly.
Consider creating a timeline, starting with the anticipation of your travel, moving through daily adventures, and ending with a reflective moment or a poignant farewell. You know, like how travel photo albums often start with the excitement of departure and end with cherished memories.
Use titles, captions, and anecdotes throughout to guide the reader, adding depth to your visual tale. The key is in pacing—keep it dynamic, engaging, and true to your theme.
Design Elements That Speak Volumes
Creating a travel photobook is about more than just compiling photos. It’s about making sure every choice, from color to layout, enhances your story. A keen eye on these design elements can turn your collection into a narrative masterpiece.
Choose a Colour Scheme
The color scheme is the heartbeat of your photobook. It sets the tone and mood. Imagine a coastal journey—blues and sand colors echo the sea and shore. Such deliberate choices can invoke the emotion of place. Is your trip packed with urban adventures? Bold, vivid colors might work better to capture city energy.
Use color palettes for harmony. You can match colors with picking key hues from your photos or choose a theme like vintage or modern. Whatever you decide, the goal is consistency. A hodgepodge of colors can confuse the story you’re trying to tell. Aim for coherence; it makes your book feel intentional and thoughtful.
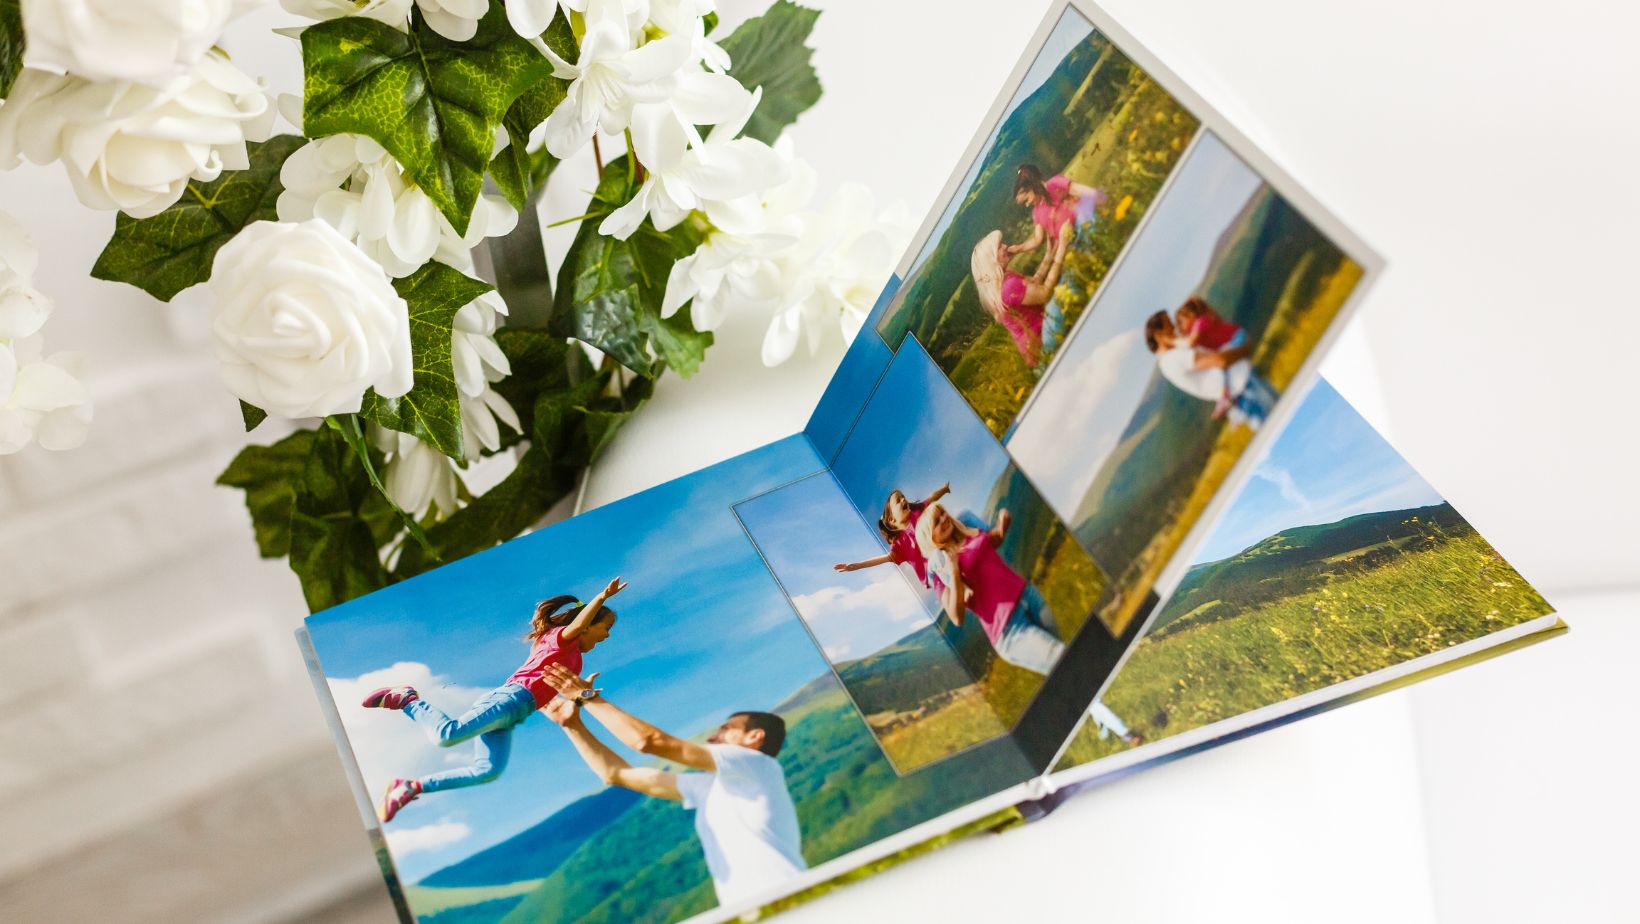
The Importance of Layout
The layout is where your story takes shape. Think of it as a storyboard for your travel memories. Where will each photo go? Which will get a full page? This is your chance to play director. Arranging the photos chronologically can take readers on your journey as you experienced it.
Consider using backgrounds and borders to create contrast and focus. White space can be your friend, letting photos breathe and stand out. Balance is critical. Too many small images can feel cluttered, just as too many full-page ones may overwhelm.
A mix can maintain flow and interest. Your layout decisions will guide viewers through your adventure, page by page.
Select a Photo Book Provider
Choosing the best photo book provider is crucial for creating a memorable travel photobook that captures your story. You need a provider that offers both flexible customization options and quality printing services. Look into factors like price, ease of use, and design options to make your decision.
Compare Photo Book Companies
Begin by evaluating different photo book companies based on the variety of services they offer. Popular names like Blurb and Shutterfly frequently come up in conversations about value and quality. Each company offers specific features and benefits, so focus on those that match your needs.
Blurb is often celebrated for its professional-quality books and extensive design customization, ideal for those who want precise control over every little detail. They even offer options for self-publishing.
On the other hand, Shutterfly is renowned for its user-friendliness and wide range of templates, making it a great choice for anyone who wants a streamlined process. They often provide promotions and discounts, so keep an eye out for those.
Make a short list of companies and weigh their features side-by-side using criteria that matter to you, such as price points, paper quality, customer service, and any extra perks they may offer.
Choose the Right Creator Software
Finding the right creator software is like picking the right paintbrush for your canvas. It defines how effectively you can craft your masterpiece. Both Blurb and Shutterfly provide their own software with varying levels of complexity.
Blurb’s BookWright software is top-tier for professional designers. It offers extensive layout flexibility, ensuring your travel stories are customized to the fullest.

Meanwhile, Shutterfly’s designer tool offers user-friendly drag-and-drop features which make designing fun, especially if you’re not a pro designer. Plus, you can incorporate multimedia elements like text and embellishments effortlessly.
Make sure the software you select aligns with your skill level and design aspirations. Your software choice can drastically impact both the look of your photobook and your experience creating it.
Bring It All Together
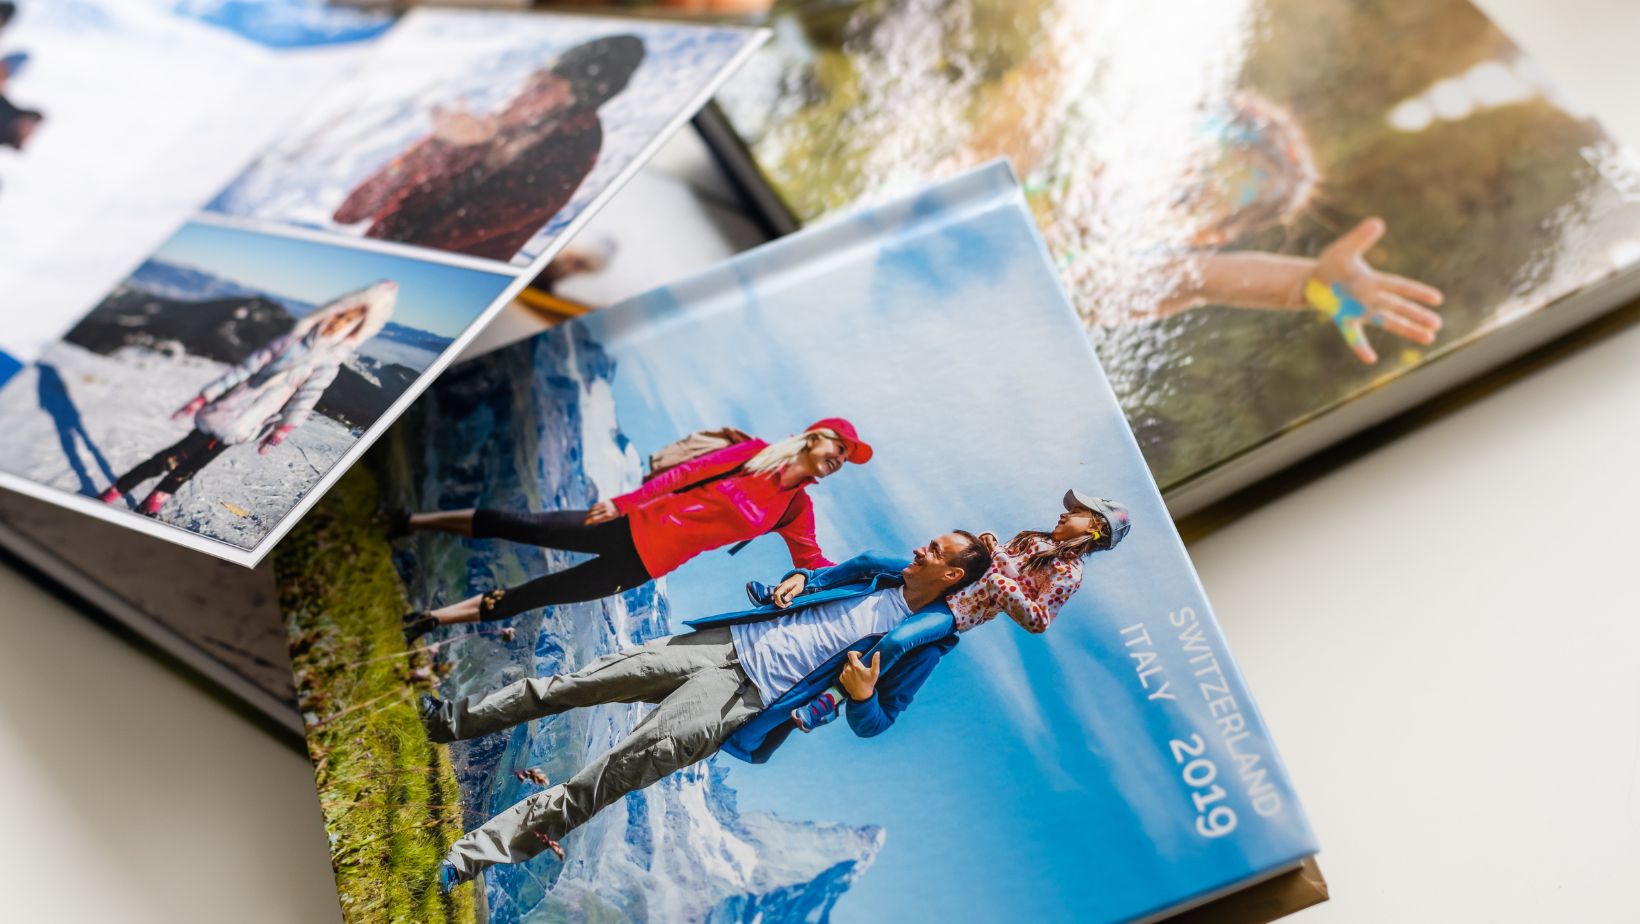
Creating a travel photobook isn’t just about collecting photos; it’s about crafting a narrative that reflects your adventures. From organizing snapshots to the finishing touches, every decision should center around the story you want to tell.
Upload and Organize Photos
First things first, you need to get those incredible snapshots off your camera or phone and into a digital album. Upload them to whatever design software you’re using—be it Adobe, Canva, or another. The software often allows you to categorize photos by date, location, or theme, making it less hectic down the road.
As you sift through hundreds (maybe thousands) of photos, you’ll want to decide which ones genuinely capture your experience.
A great strategy? Create folders for moments like “Cityscape Strolls,” “Unexpected Laughs,” or even “Rainy Day Retreats.” This lets your photobook breathe life into each page with authentic snapshots of your travels. Remember, sometimes less is more. It’s tempting to include every single photo, but focusing on key moments ensures each image packs a punch.
Finalize Your Photo Book Project
You’re almost there! With your photos all sorted out, it’s time to piece it together. Select a layout that aligns with your narrative’s voice. Do you prefer full-page, immersive images or a collage-style approach with little anecdotes attached? Decisions, decisions.
Next up, review your text. If you’ve got captions, quotes, or little blurbs, ensure they’re engaging and reflect the mood of each image. Consider typography—fonts can convey emotions just like pictures can. Double-check everything; the last thing you want is a glaring typo on page one.
Finally, use the preview option to flip through your masterpiece as if it’s a real book. Adjust any elements that don’t sit well. If it feels cohesive and tells the story you want, hit that save button. Your travel photobook is now ready to become an unforgettable keepsake of your adventures.
Capture Every Moment: Design Your Perfect Travel Photobook
Designing a travel photobook that tells your story is a rewarding way to relive and share your adventures. By following the tips outlined in this article, you can create a visually stunning and emotionally engaging keepsake.
From selecting your best photos and choosing a cohesive theme to adding personal anecdotes and experimenting with creative layouts, each step helps to craft a photobook that truly captures the essence of your journey. Leverage the latest design trends and customization options to make your photobook unique and captivating. With MILK Books, you have access to high-quality materials and innovative design tools that can elevate your travel photobook to the next level. Start your journey today with MILK Books and turn your travel memories into a beautiful narrative that will inspire and impress. Your perfect travel photobook is just a few thoughtful steps away.